

Millions of people use Facebook and Instagram every day, and your potential customers are likely there too. Each month, I consult with around 3 to 8 companies by reviewing their processes, account setups, and creatives to identify opportunities to improve their SOPs and increase sales.
I usually come across three types of businesses:
- 😁 The Beginner = The company has set up a Facebook page and an Instagram account, and they log in to each platform manually to boost posts.
- 😉 The Amateur = The company set up business.facebook.com on their own, or hired someone to set up the account.
- 😎 The Professional = The company is already using Hootsuite or working with an agency, and they are comfortable spending $5,000 or more per month.
For this article, I’m going to focus on the beginner. I’ll walk you through the key steps needed to create a more optimized, fully ready-to-go system.
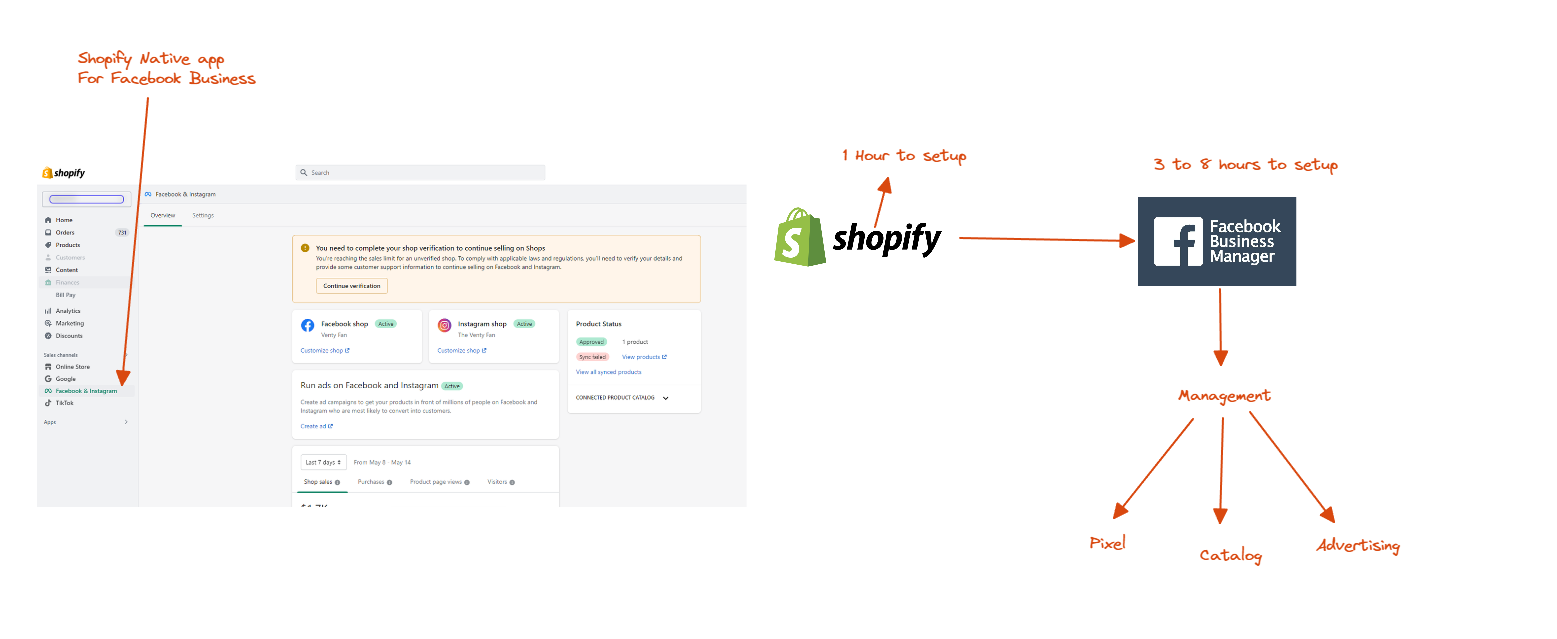
Let’s Get Started – Step 1
Once you already have Shopify set up, the next step is to go to Facebook Business.
Link ➡️ https://business.facebook.com/
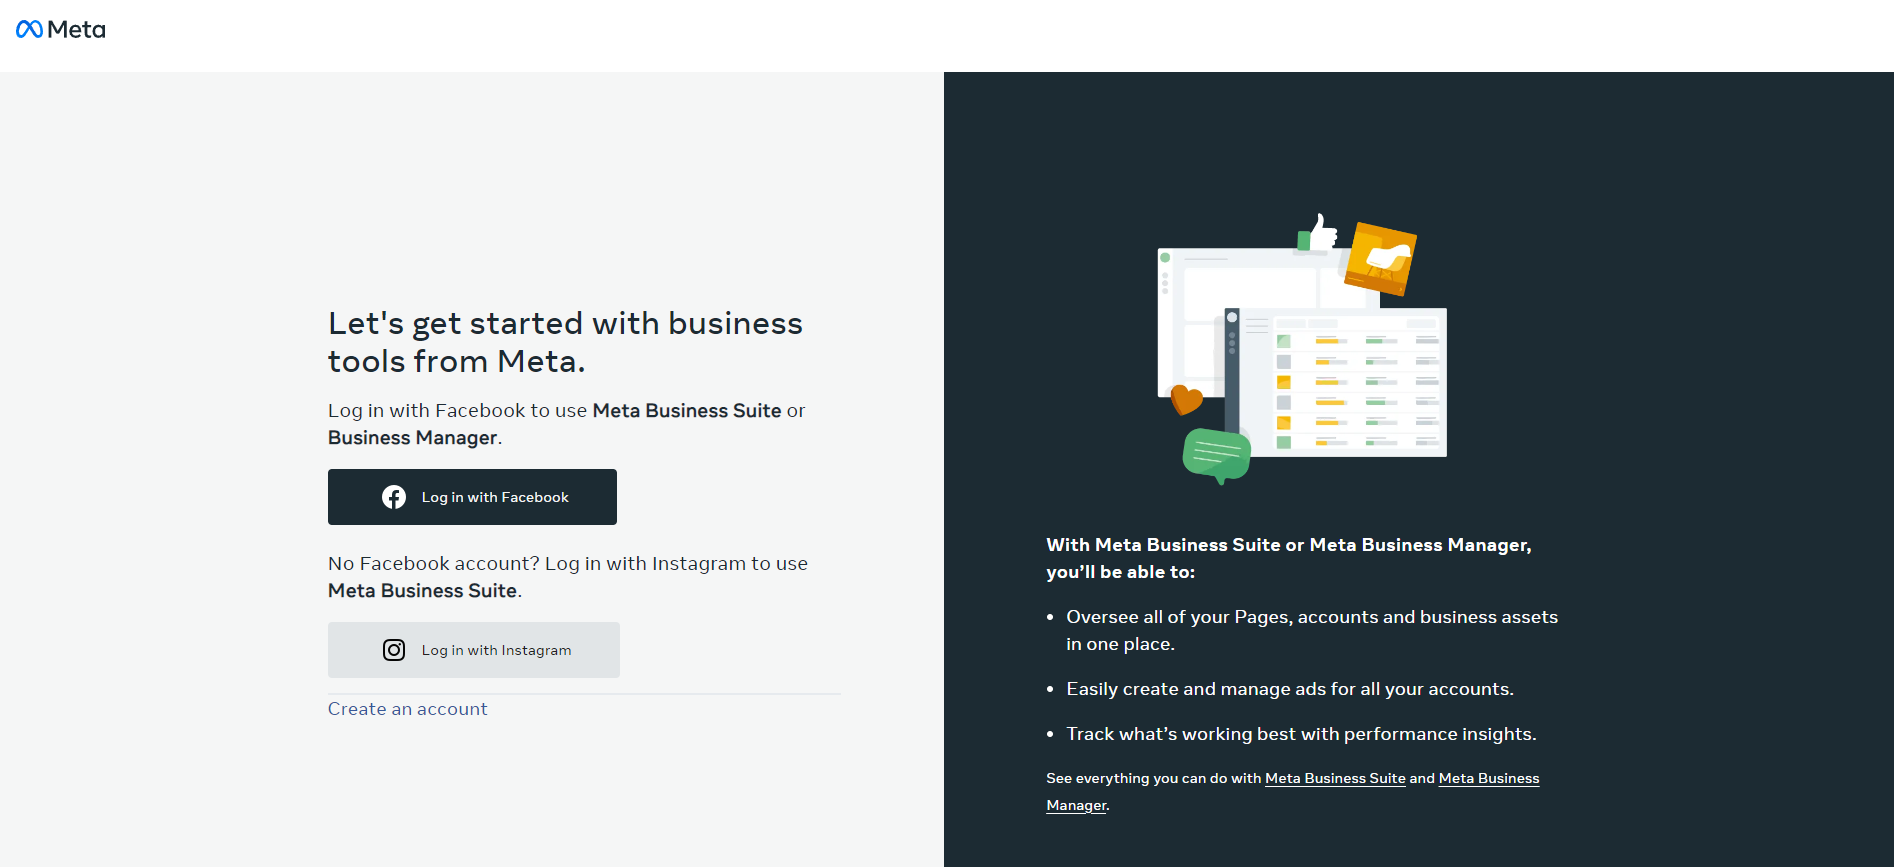
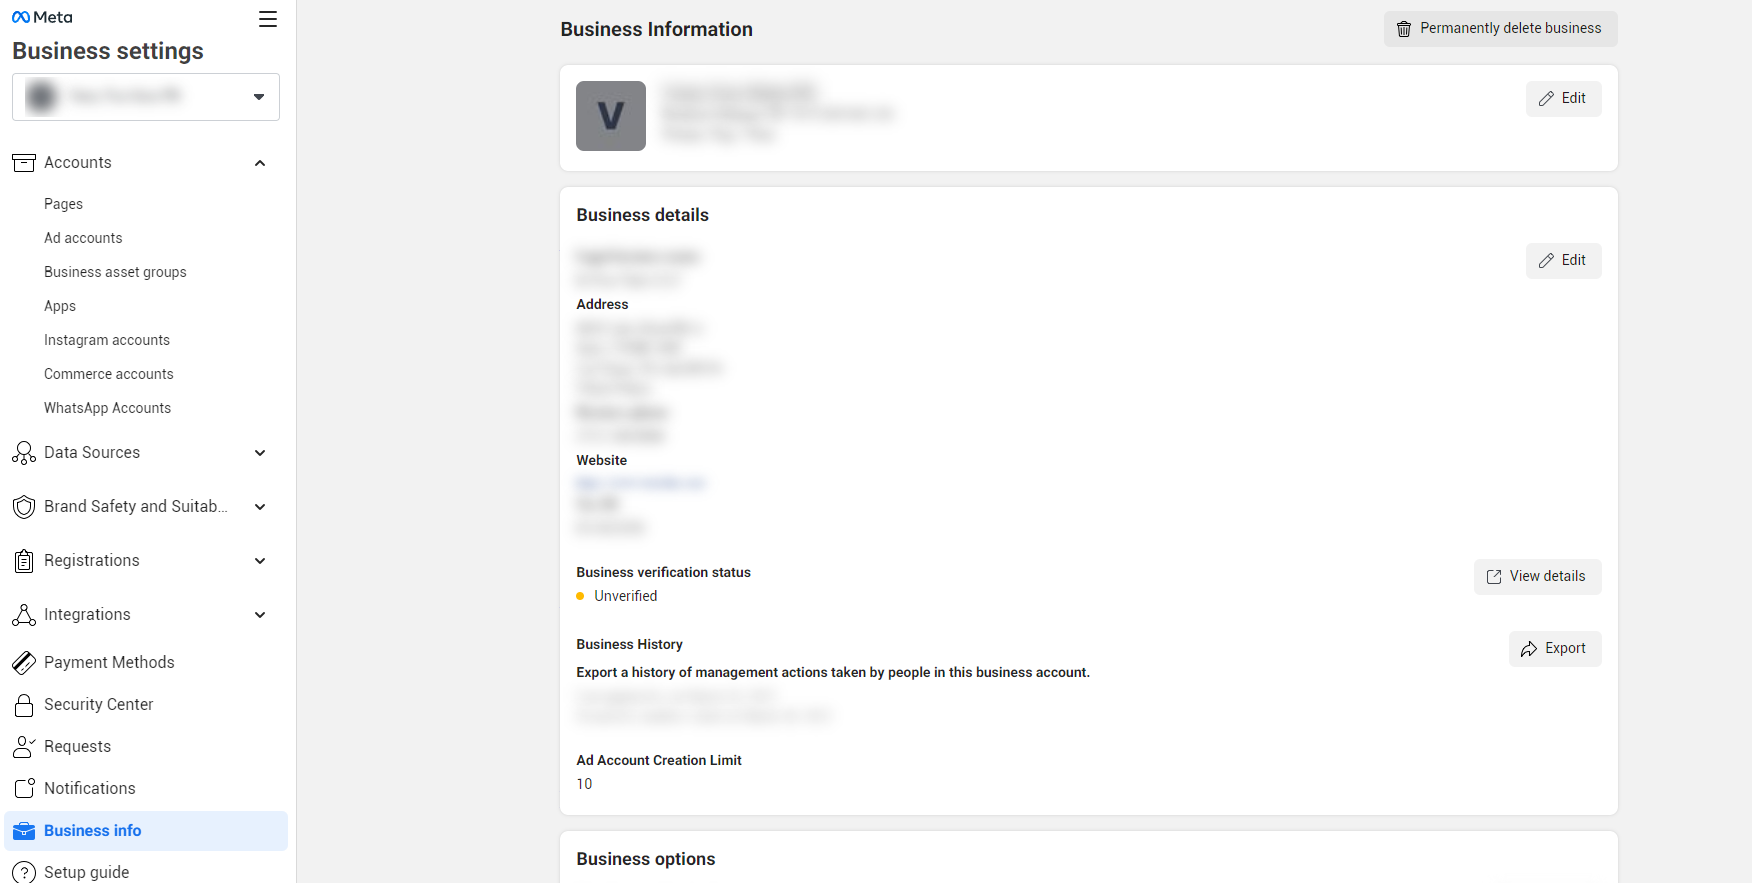
There are five essential things that should be completed before connecting Shopify to Facebook Business:
- Business information
- Connect your pages (Facebook page and Instagram account)
- Create a data source (Pixel) ➡️ this will later connect to Shopify
- Add ad payment information
- Create an ad account ➡️ Support is much more likely to help you if an ad account already exists
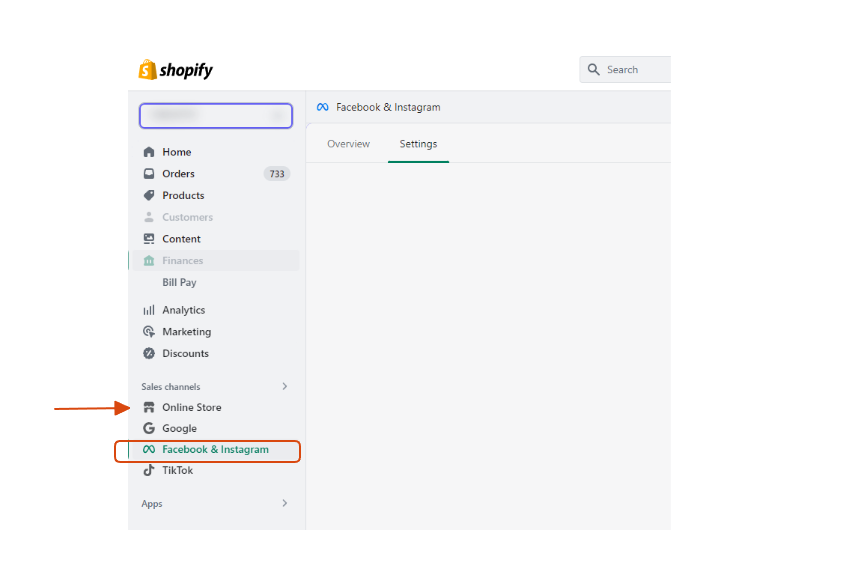
Pixel Install on Shopify – Step 2
After you create the pixel inside Facebook Business, you can go into Shopify and begin installing the connection. See the screenshot below for where to navigate.
This is the first step toward getting started with advertising on Facebook and Instagram. In future articles, we’ll go deeper into campaign creation, advertising strategy, and how to drive stronger results.